

What is an Instagram Filter?
The Instagram filter tool, introduced in 2011, revolutionized photo editing by allowing users to make quick adjustments to their images with a single click. Initially offering basic choices, the feature has since evolved, providing users with multiple ways to enhance their pictures, including improved quality, additional borders, and impactful tilt-shift effects. Instagram’s user-friendly layout makes it easy for users to apply filters, and regular updates introduce new layouts for user convenience. To navigate this feature effectively, follow a few simple steps to enhance your posts and stories.
How to Add Filters to a Photo and Video on Instagram Story?
Instagram’s intuitive layout makes picture editing a breeze, particularly when it comes to adding filters to photos or videos in Instagram stories. This process is arguably one of the simplest tasks on Instagram, requiring minimal time and effort. In fact, it takes no more than five minutes to enhance your photo or video with the perfect filter. The user-friendly interface ensures a smooth experience, allowing you to effortlessly elevate the visual appeal of your content. Adding filters on Instagram stories has never been more straightforward.
How to use filters on instagram?
Step # 01;Capture or Select Photo/Video;
Take a photo or select an existing one from your camera roll. For videos, hold down the capture button to record or select a video.
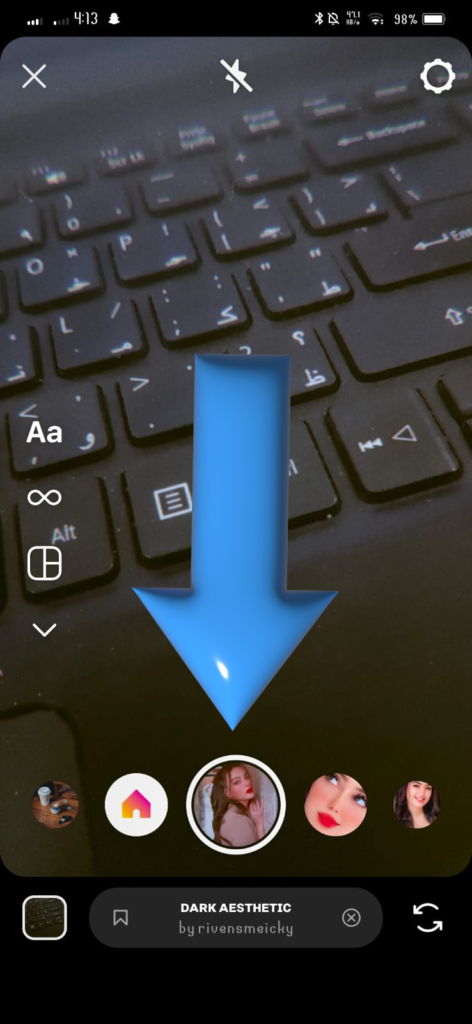
Step # 02; Choose a Filter:
Once you have your photo or video, swipe left or right on the screen to browse through the available filters. Choose the one that complements your content.
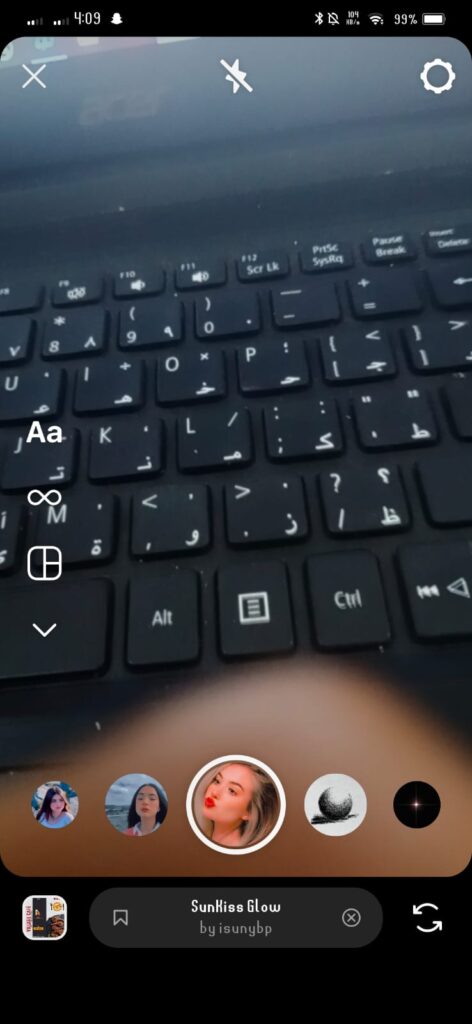
Step # 03;apply filter:
Tap on the selected filter to apply it to your photo or video. Some filters may have additional options or effects you can explore.
Step # 04;Add Text, Stickers, or Drawing (Optional):
Instagram offers various creative tools. You can add text, stickers, or draw on your photo or video before sharing it.

Step # 05;Apply and Share:
Once you’re satisfied with the filter, tap the checkmark or “Done” button to apply the changes. You can then add a caption, hashtags, and choose whether to share the post on your feed or in your story.
How to Apply Filters to Instagram Posts OR multiple Posts?
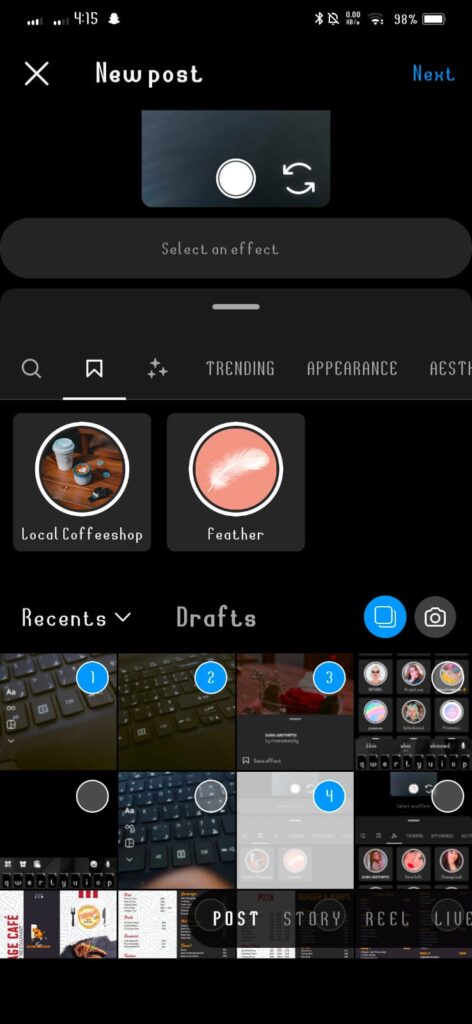
Step # 01: click on the “Plus Icon”
The “commencing.” step is to tap on the Plus icon at the bottom of the screen. Then select an existing picture or capture a photo for further editing.
Some filters allow you to adjust their intensity. If available, use the slider to control the strength of the filter.

Step # 02;complete editing and share;
Tap “Next” to proceed to the caption and posting screen. Add a caption, location, and other details as desired. Finally, tap “Share” to publish your post with the applied filter.
How to find filters on Instagram?
Step # 01;Ensure that you have the latest version of the Instagram app installed on your device.
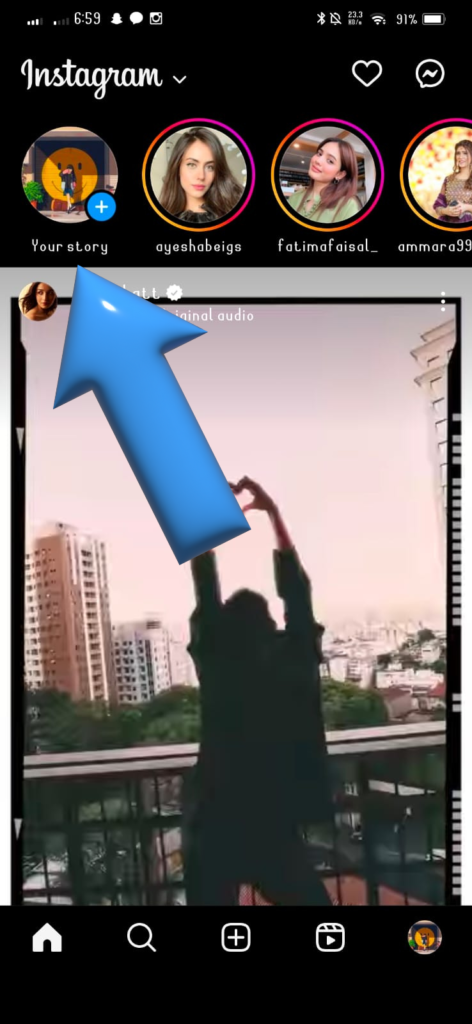
Step # 02;Tap on the camera icon at the top-left corner of your home feed or swipe right to access the Instagram camera.
Step # 03;Once in the camera, you can choose the format for your post at the bottom of the screen (e.g., Story, Reel, etc.).
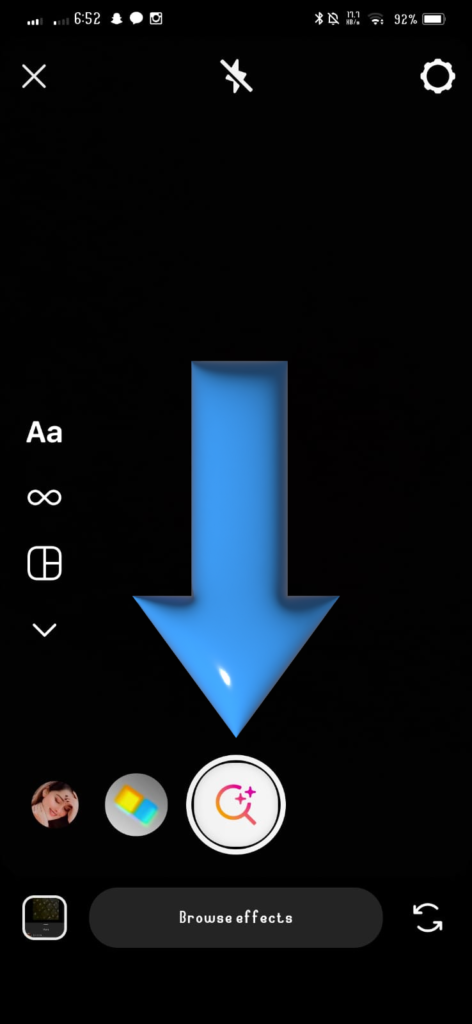
Step # 04; Look for the filters icon, which typically appears as a smiley face or a square with stars. It is usually located on the left side of the screen.
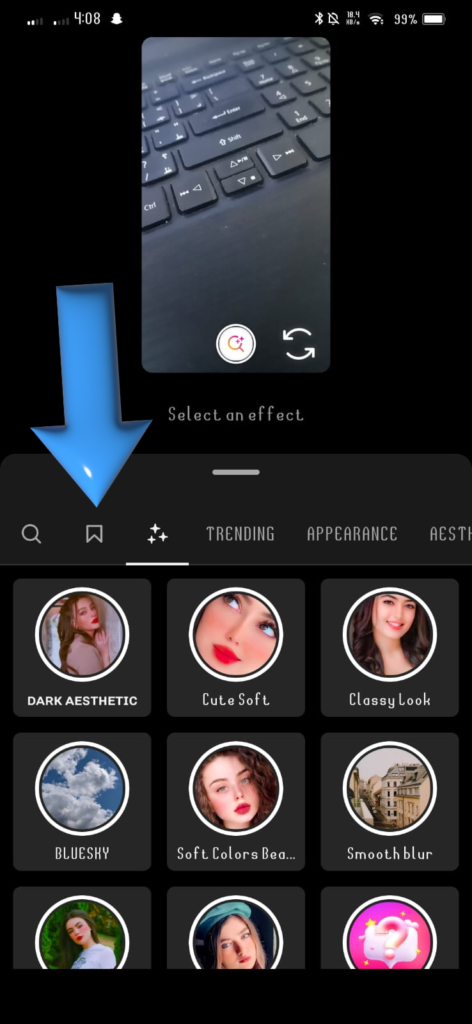
Step # 05; If you find a filter you like, you can save it as a favorite by tapping the star icon or the “Save Effect” button. This makes it easier to access your preferred filters in the future. Once you’ve chosen a filter, tap on it to apply it to your photo or video.
Step # 06;Once you’ve chosen a filter, tap on it to apply it to your photo or video.After capturing or selecting your media and applying the filter, you can add captions, stickers, or other elements. When you’re ready, tap the “Your Story,” “Send To,” or “Share” button to post it.
FAQS;
CONCLUSION;
Remember that Instagram may update its features, so it’s recommended to check the latest information or tutorials within the app for any changes or additional options. If you have any specific questions or encounter difficulties, you can also refer to the Instagram Help Center for assistance.